Blog Post

CDMS vs EDC: What’s Right for Your Clinical Trial?
CDMS vs EDC: What’s Right for Your Clinical Trial?
Case Study
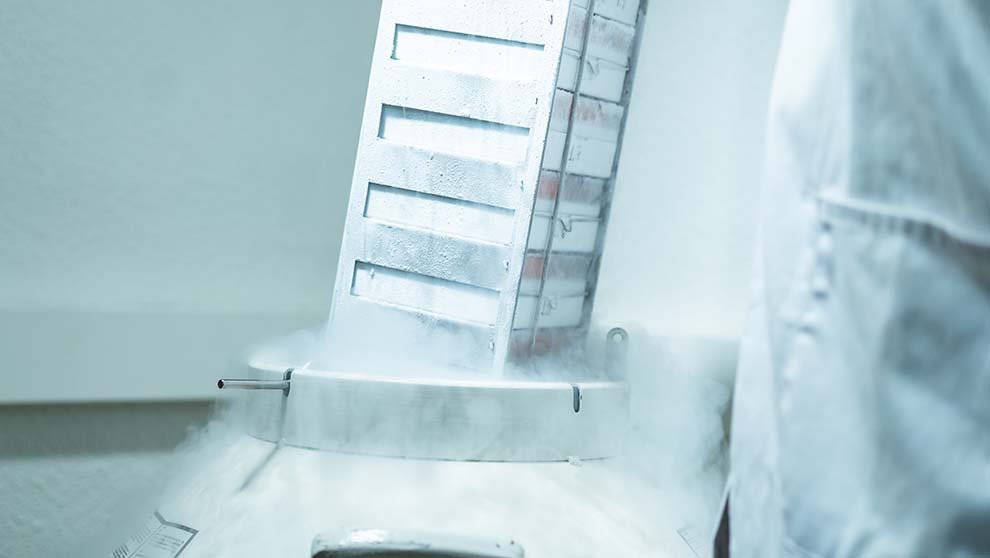
Harmonizing Data Management at BIOASTER with Server SDMS
Harmonizing Data Management at BIOASTER with Server SDMSBlog Post

Important Software Tools for Clinical Study Data Management
Important Software Tools for Clinical Study Data ManagementWebinar

Beyond Sample Tracking: Managing Laboratory Processes in Sample Manager
Beyond Sample Tracking: Managing Laboratory Processes in Sample Manager

Featured Content:

Ready for a demo?
Fill out the form and we will be in touch with you shortly to schedule your demo.